For the complete documentation index, see llms.txt. This page is also available as Markdown.

Network Access

Let your agent call an API eesel has no integration for: allow the domain, name the header it authenticates with, and it looks up live data when it answers.

Network Access lets your agent reach APIs you don't have a built-in integration for. You allow a domain, tell it which header to authenticate with, and your agent can then look up live data like orders, shipping status or inventory, and use it when it answers.

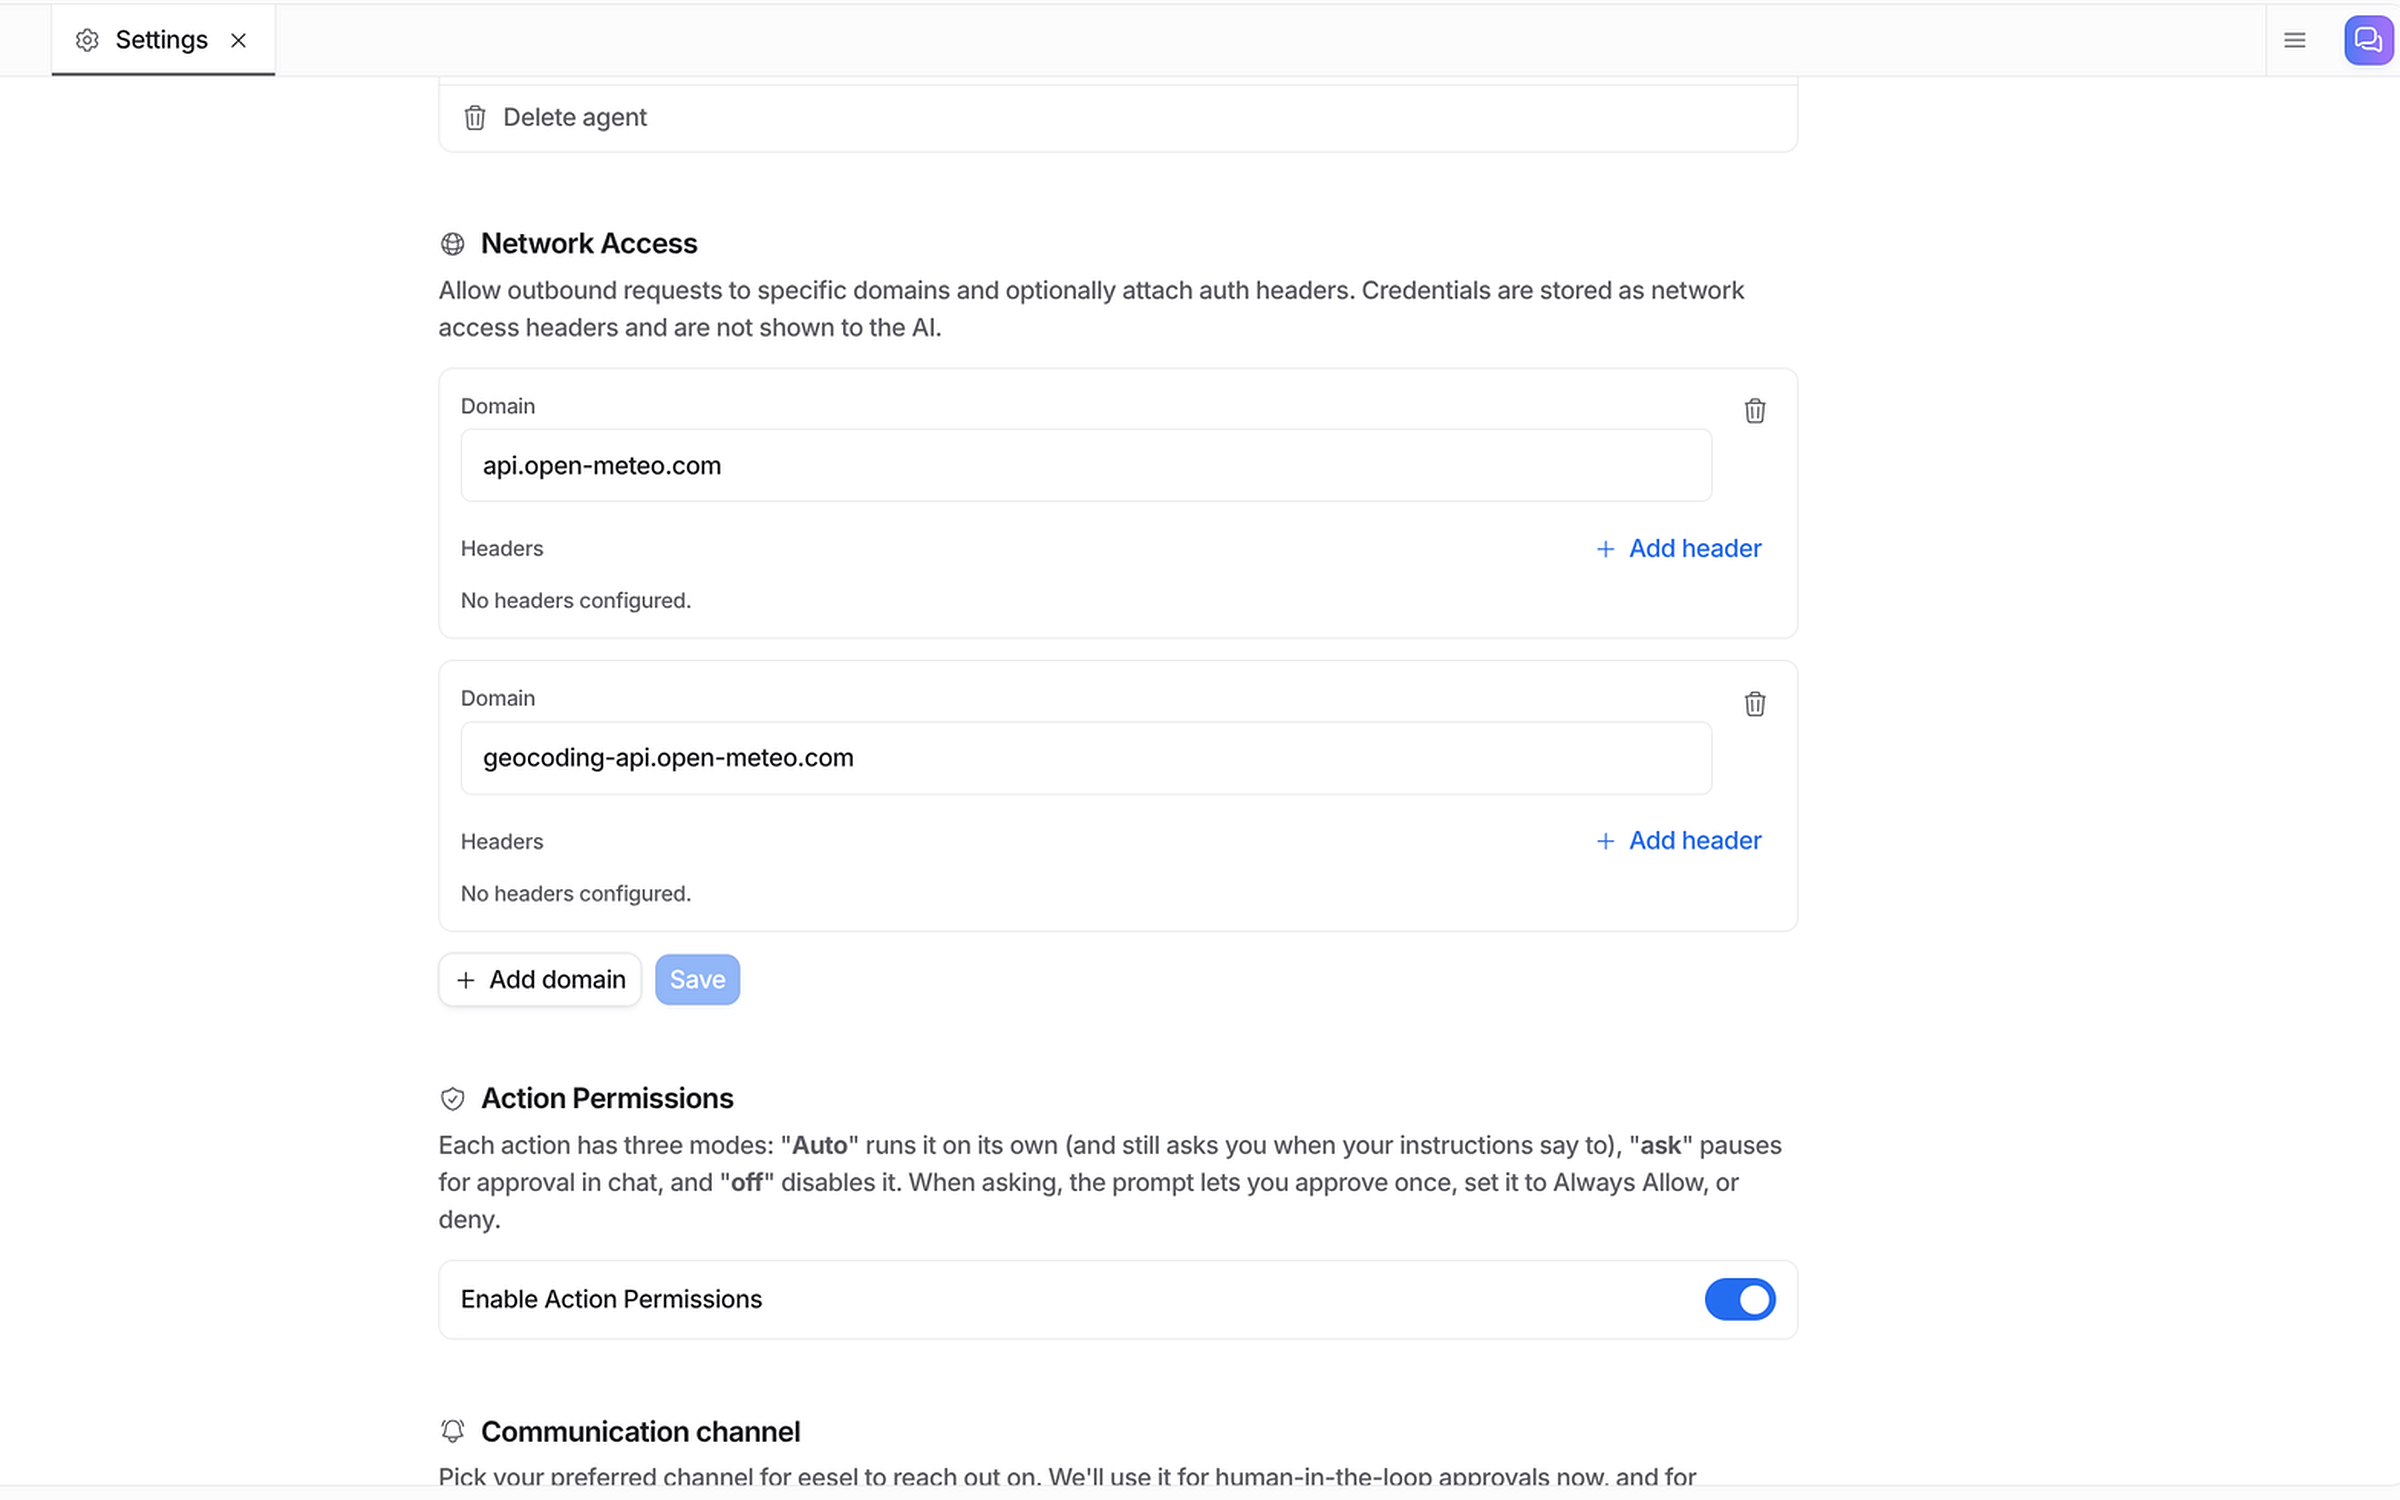
The Network Access section in agent settings with two allowlisted domains, and the note that credentials are stored as headers and never shown to the AI
Network Access in your agent's settings. Note the line at the top: credentials are stored as headers and never shown to the AI.

What you can do

  • Fetch live data from any REST API (orders, customers, inventory, shipping, etc.)

  • Make GET, POST, PATCH and DELETE requests to retrieve data or trigger actions

  • Attach authentication headers (API keys, Bearer tokens, Basic auth) per domain

  • Combine with any helpdesk so the agent responds with real-time data

Setting up Network Access

1

Add the domain

Open your agent, go to the Settings tab, scroll to Network Access, and click Add domain. Enter the base domain of the API, like api.yourservice.com. Pasting a full URL works too; the hostname is taken from it.

Allowing all subdomains with a wildcard

Use *.yourservice.com to match api.yourservice.com, store.yourservice.com, and so on. The wildcard doesn't match the bare yourservice.com itself, so add that separately if you need it.

2

Add the authentication header

Fill in the header name and value the API expects, then click Save. Header name and value must be filled in together; to allow a domain with no auth, leave both empty.

Bearer token
Field
Value

Header name

Authorization

Header value

Bearer YOUR_API_KEY

The word Bearer and the space after it are part of the value.

Basic auth

Basic Auth encodes your credentials as base64. Most APIs expect username:password, or api_key: with an empty password.

Generate the value (the trailing colon is required):

Field
Value

Header name

Authorization

Header value

Basic <your base64 output>

Custom API key header

Some APIs use their own header name instead of Authorization:

Field
Value

Header name

X-API-Key

Header value

YOUR_API_KEY

3

Tell your agent how to use it

All that's left is telling your agent what these API connections are for, and the easiest way is to just talk to it: describe the workflow you want ("when a customer asks about an order, look it up by order number and reply with the status and tracking"), and it writes the rule into its own instructions.

The same connections work everywhere your agent does: in automations, in skills, and in ad-hoc requests in chat. Auth headers are attached automatically from your policies, so credentials never appear in instructions.

Troubleshooting

"Header name and value need to be filled in together"

Both fields must be filled in before saving. If you want to allow a domain without any auth headers, leave both fields empty.

"Outbound request to 'api.example.com' is not allowed"

The domain isn't in your Network Access policies. Check that the policy holds the hostname exactly (api.yourservice.com, not a full URL with a path), and that you clicked Save after adding it.

The API returns 401 Unauthorized

For Basic Auth, make sure you ran echo -n "key:" | base64 with the trailing colon. For Bearer tokens, the value must start with Bearer followed by a space. And check the key is still valid in the third-party dashboard.

Last updated