Zendesk Messenger
Connect Zendesk Messenger so the agent that works your tickets also answers live chats on your website and help center, and hands a chat to your team.
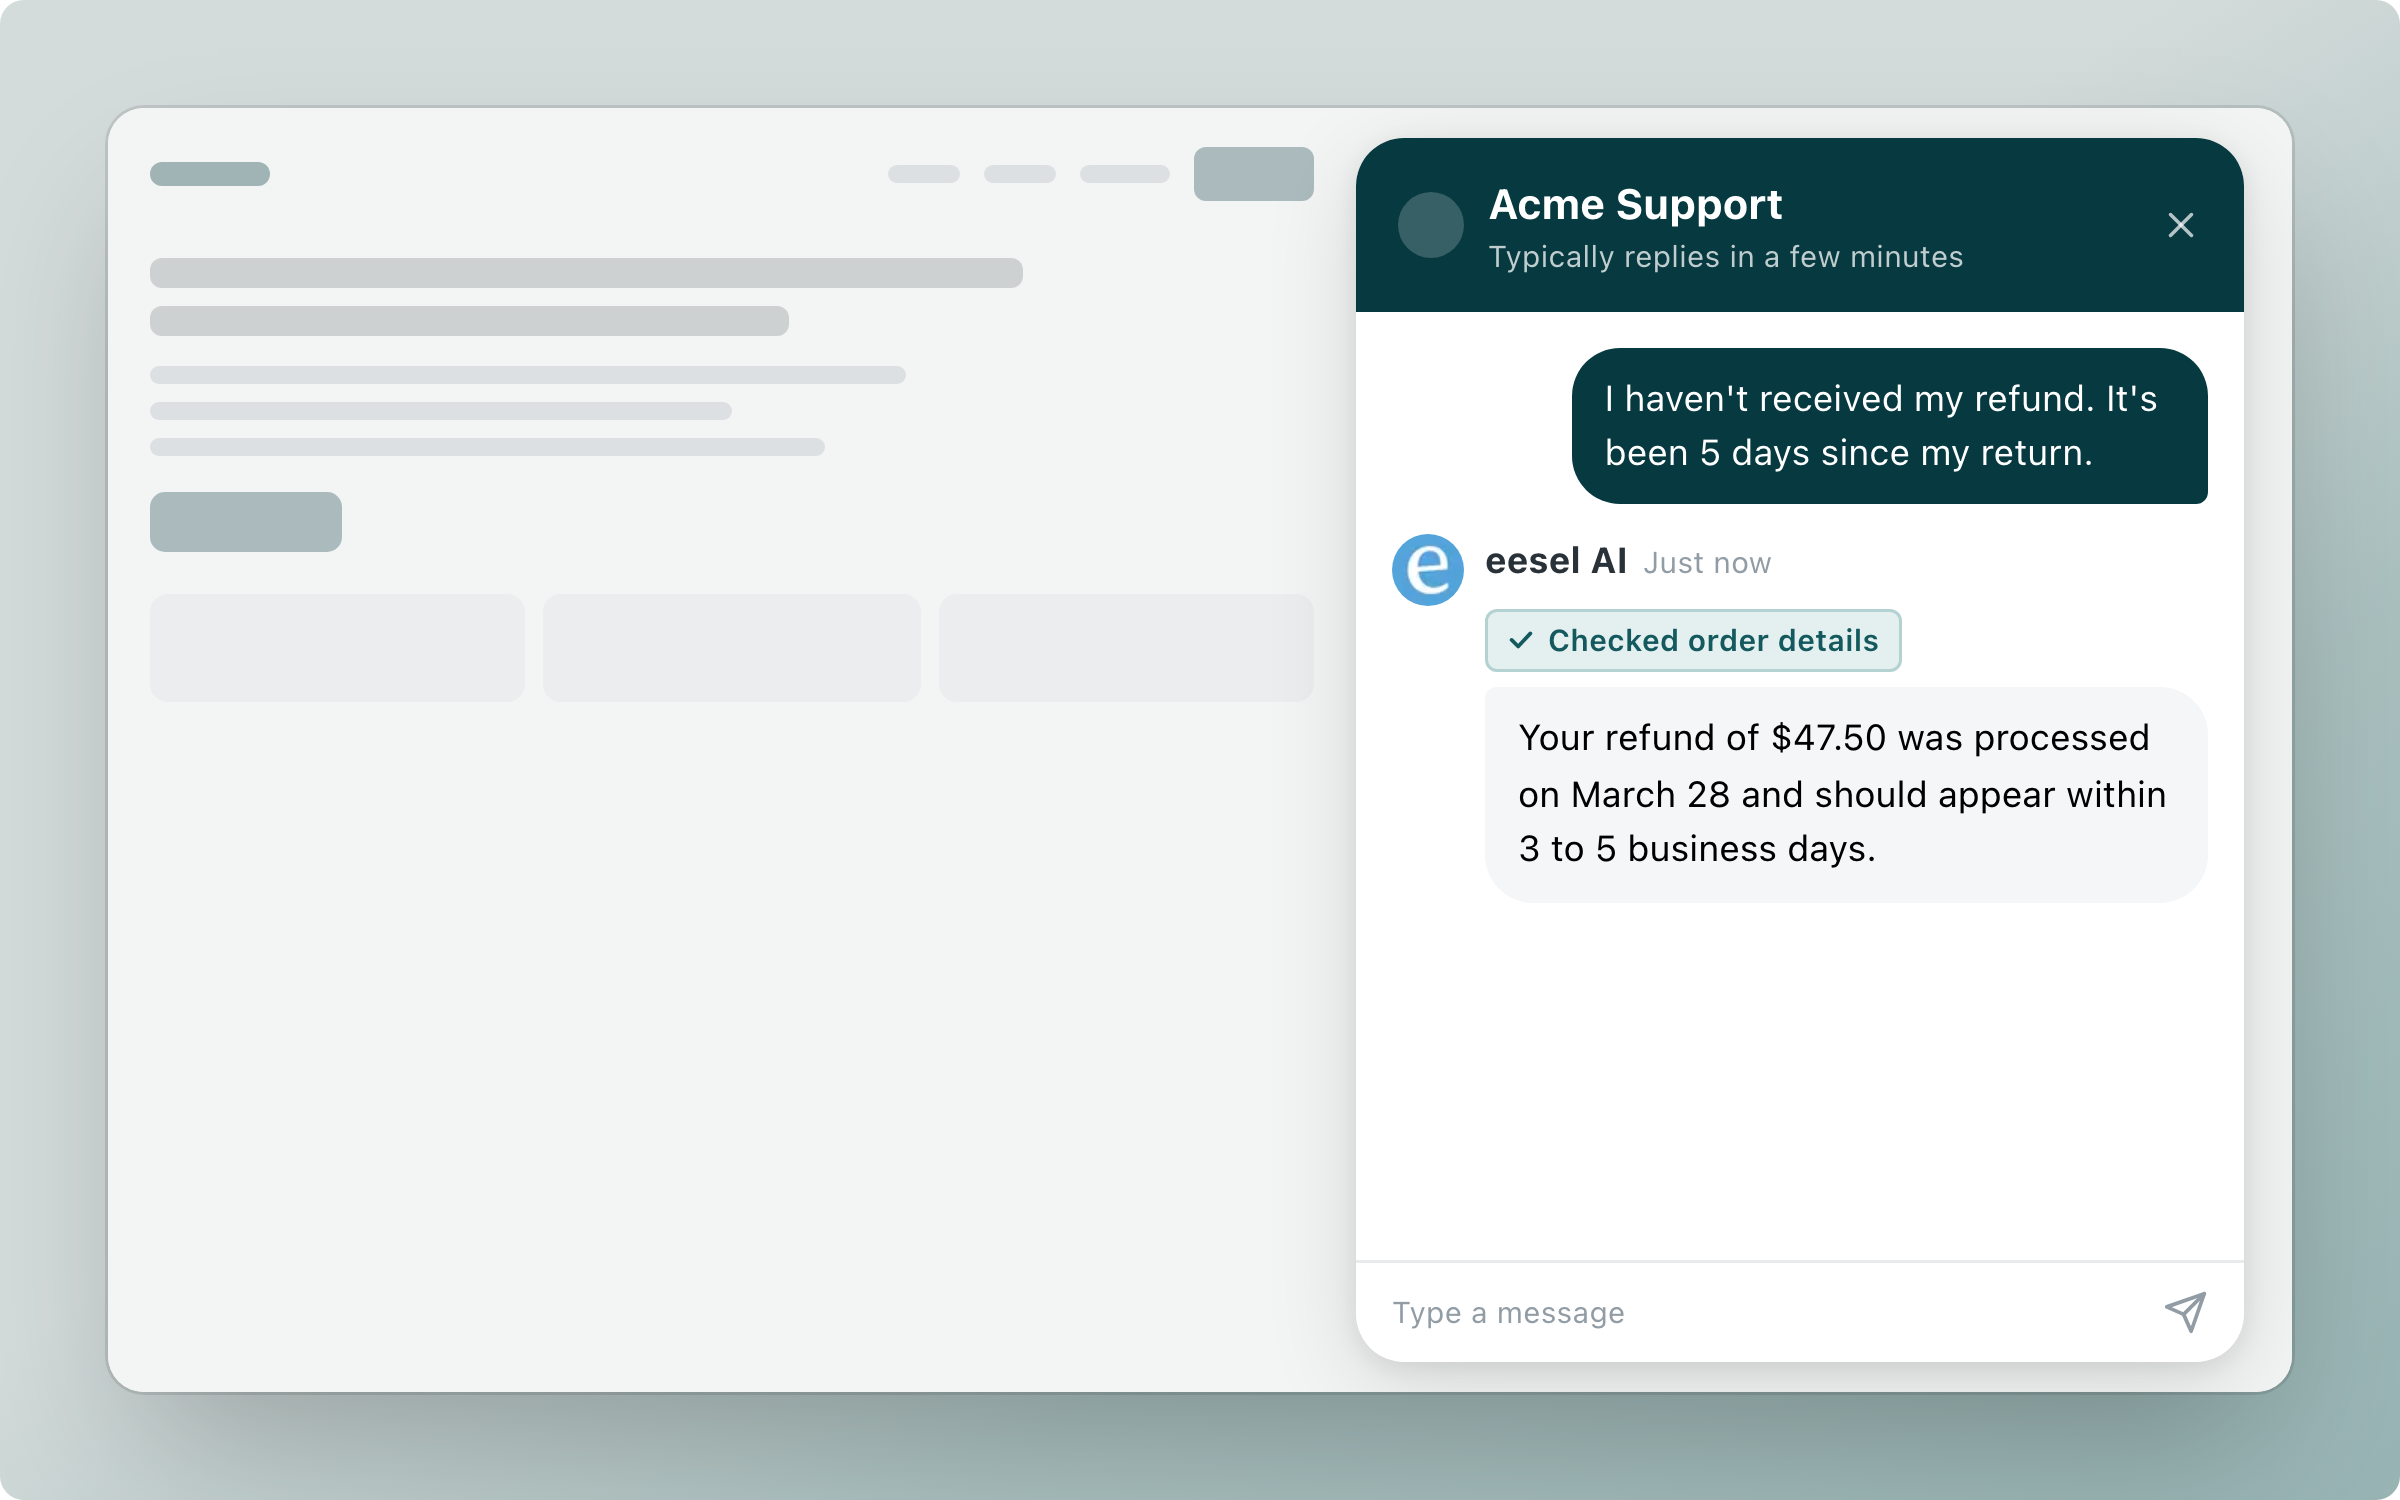
Zendesk Messenger is the live chat widget on your website and help center. Connect it and the same teammate that handles your tickets answers chats in real time, using everything it already learned from your Zendesk help center, macros and past tickets. There's no separate knowledge to set up.
Live chat takes every conversation. While the Live chat trigger is on, the agent answers every chat on the channels you switch on. So set the handover rules before you turn it on. On handover it opens a Zendesk ticket, so nothing is lost when your team picks the conversation up.

What you can do
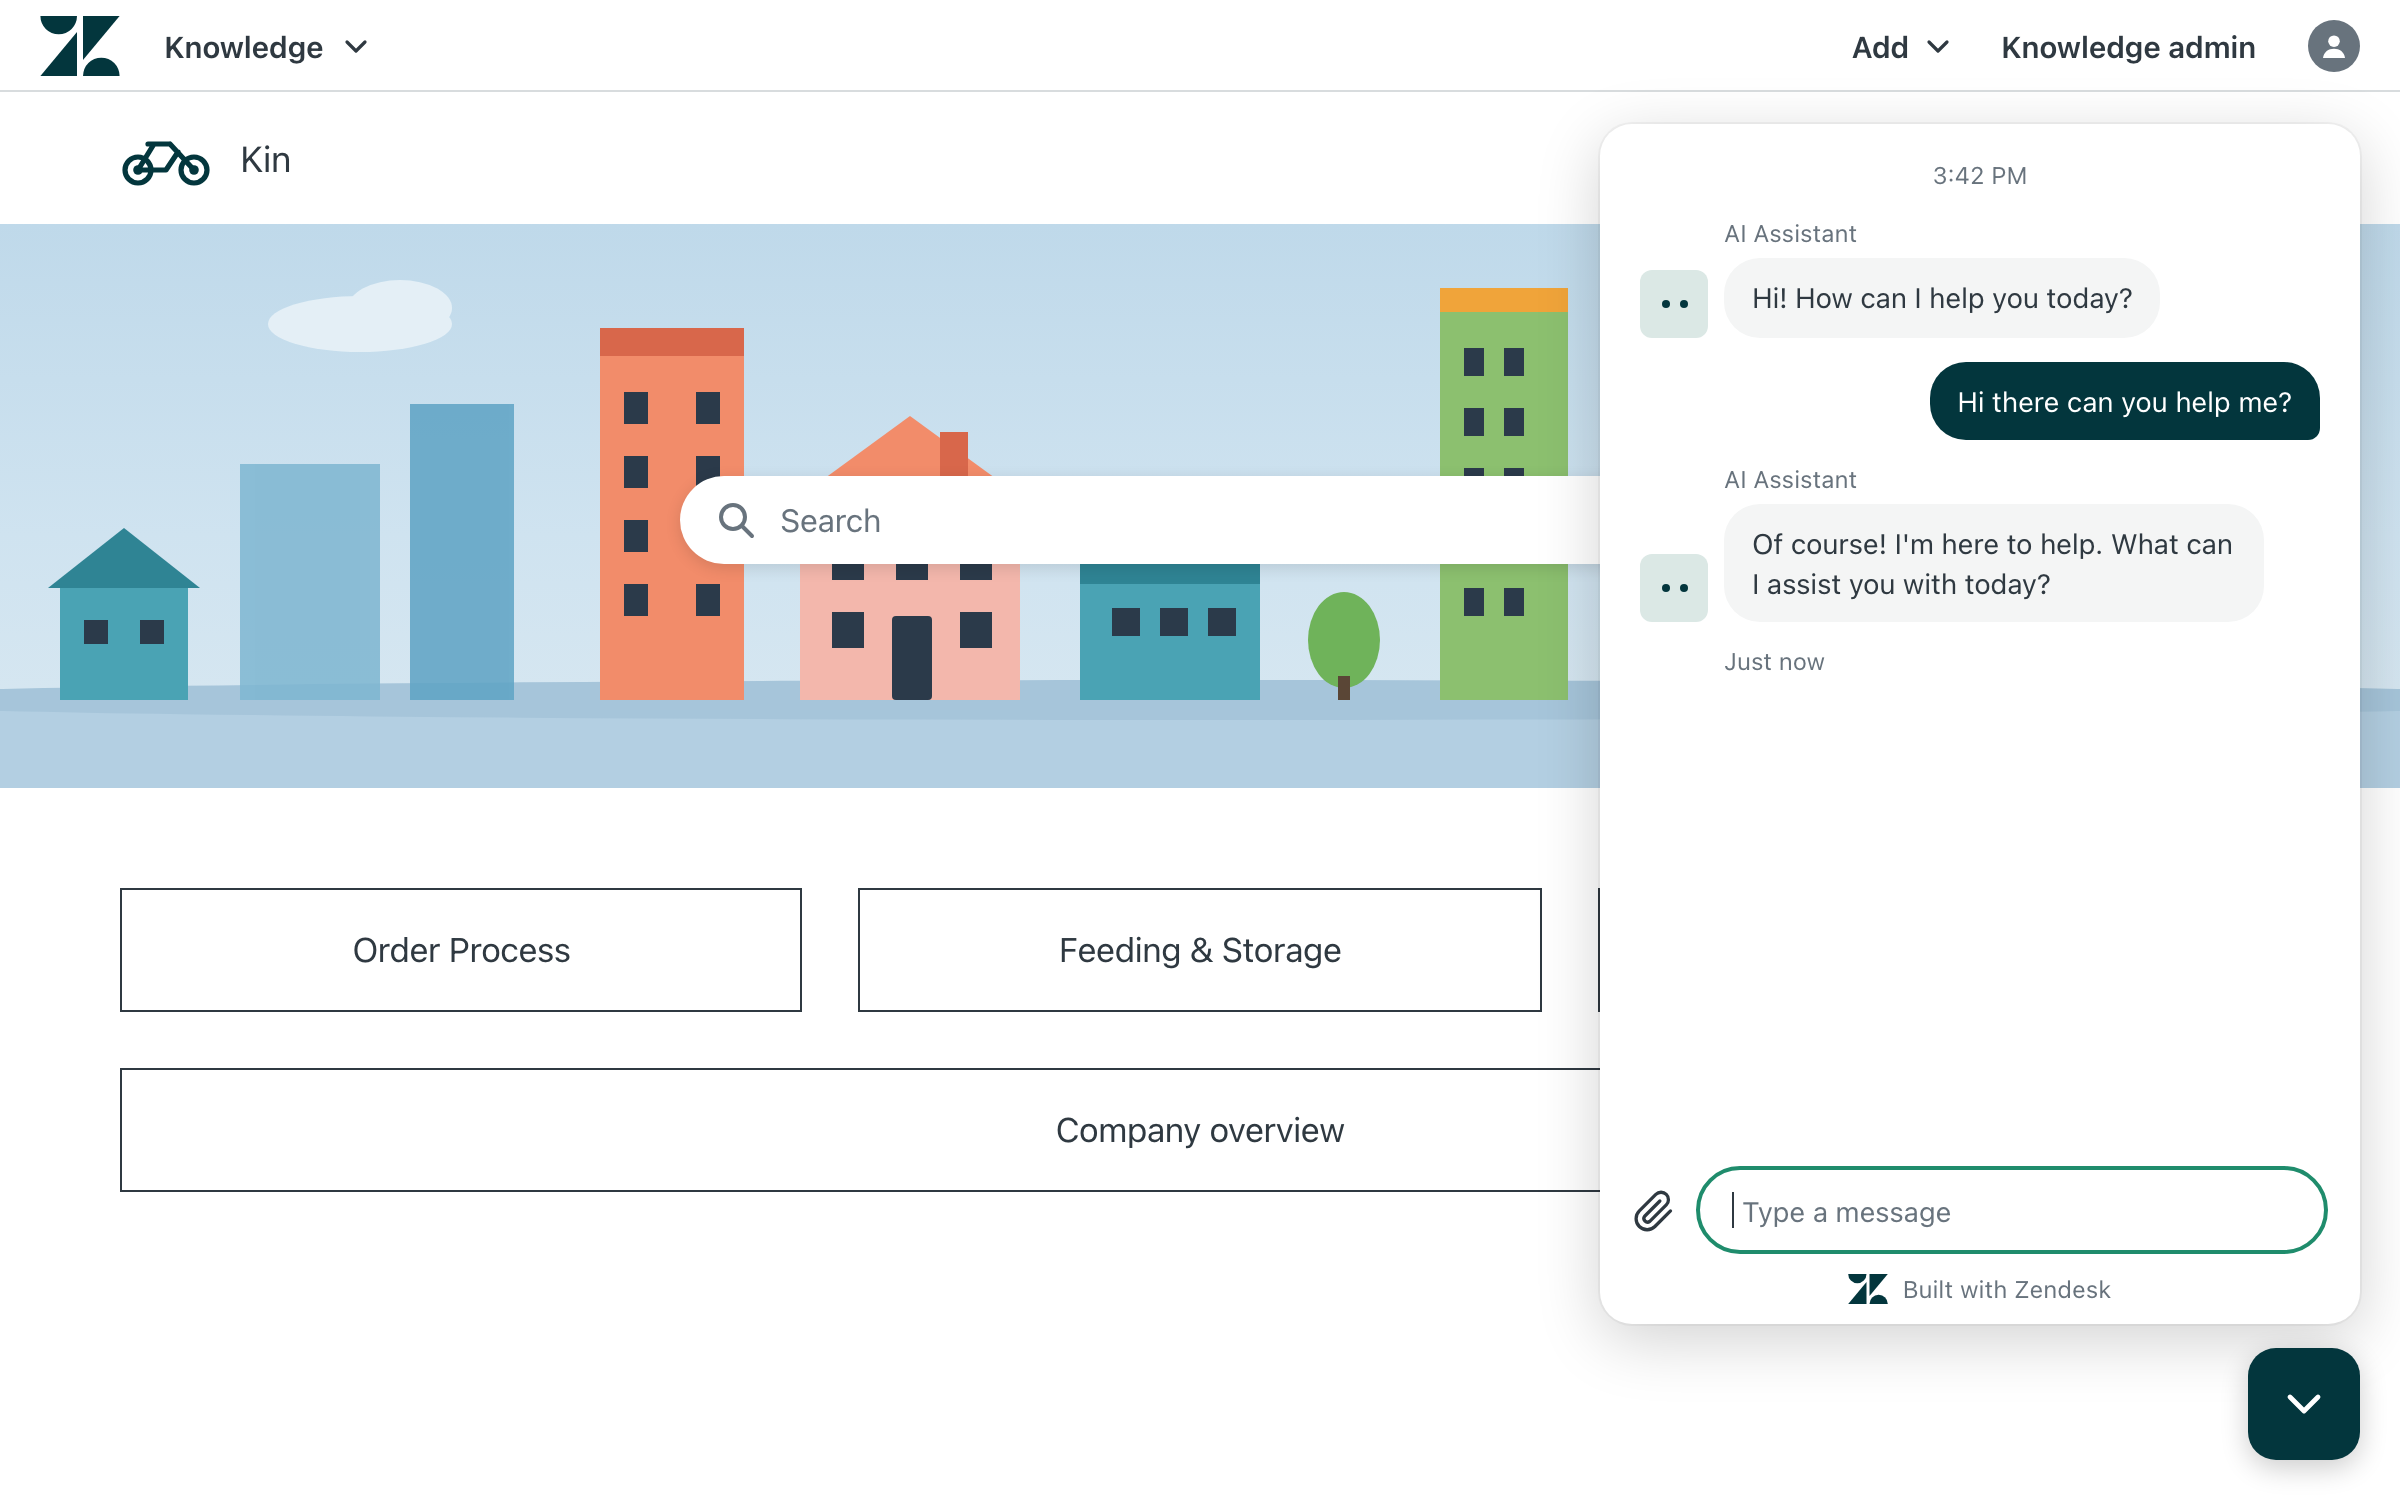
Answer Zendesk Messaging conversations in real time, in the customer's language
Send rich replies in the widget: product carousels (up to 10 cards), forms, quick replies, and webviews
Hand a conversation to a human by creating a Zendesk ticket, with the fields you choose pre-filled
Auto-Handover, which hands over on its own when a chat goes idle, after a wait you set (5 to 60 minutes)
Quick start
You need an active Zendesk connection and Zendesk Messaging enabled in your Zendesk account.
Connect the widget
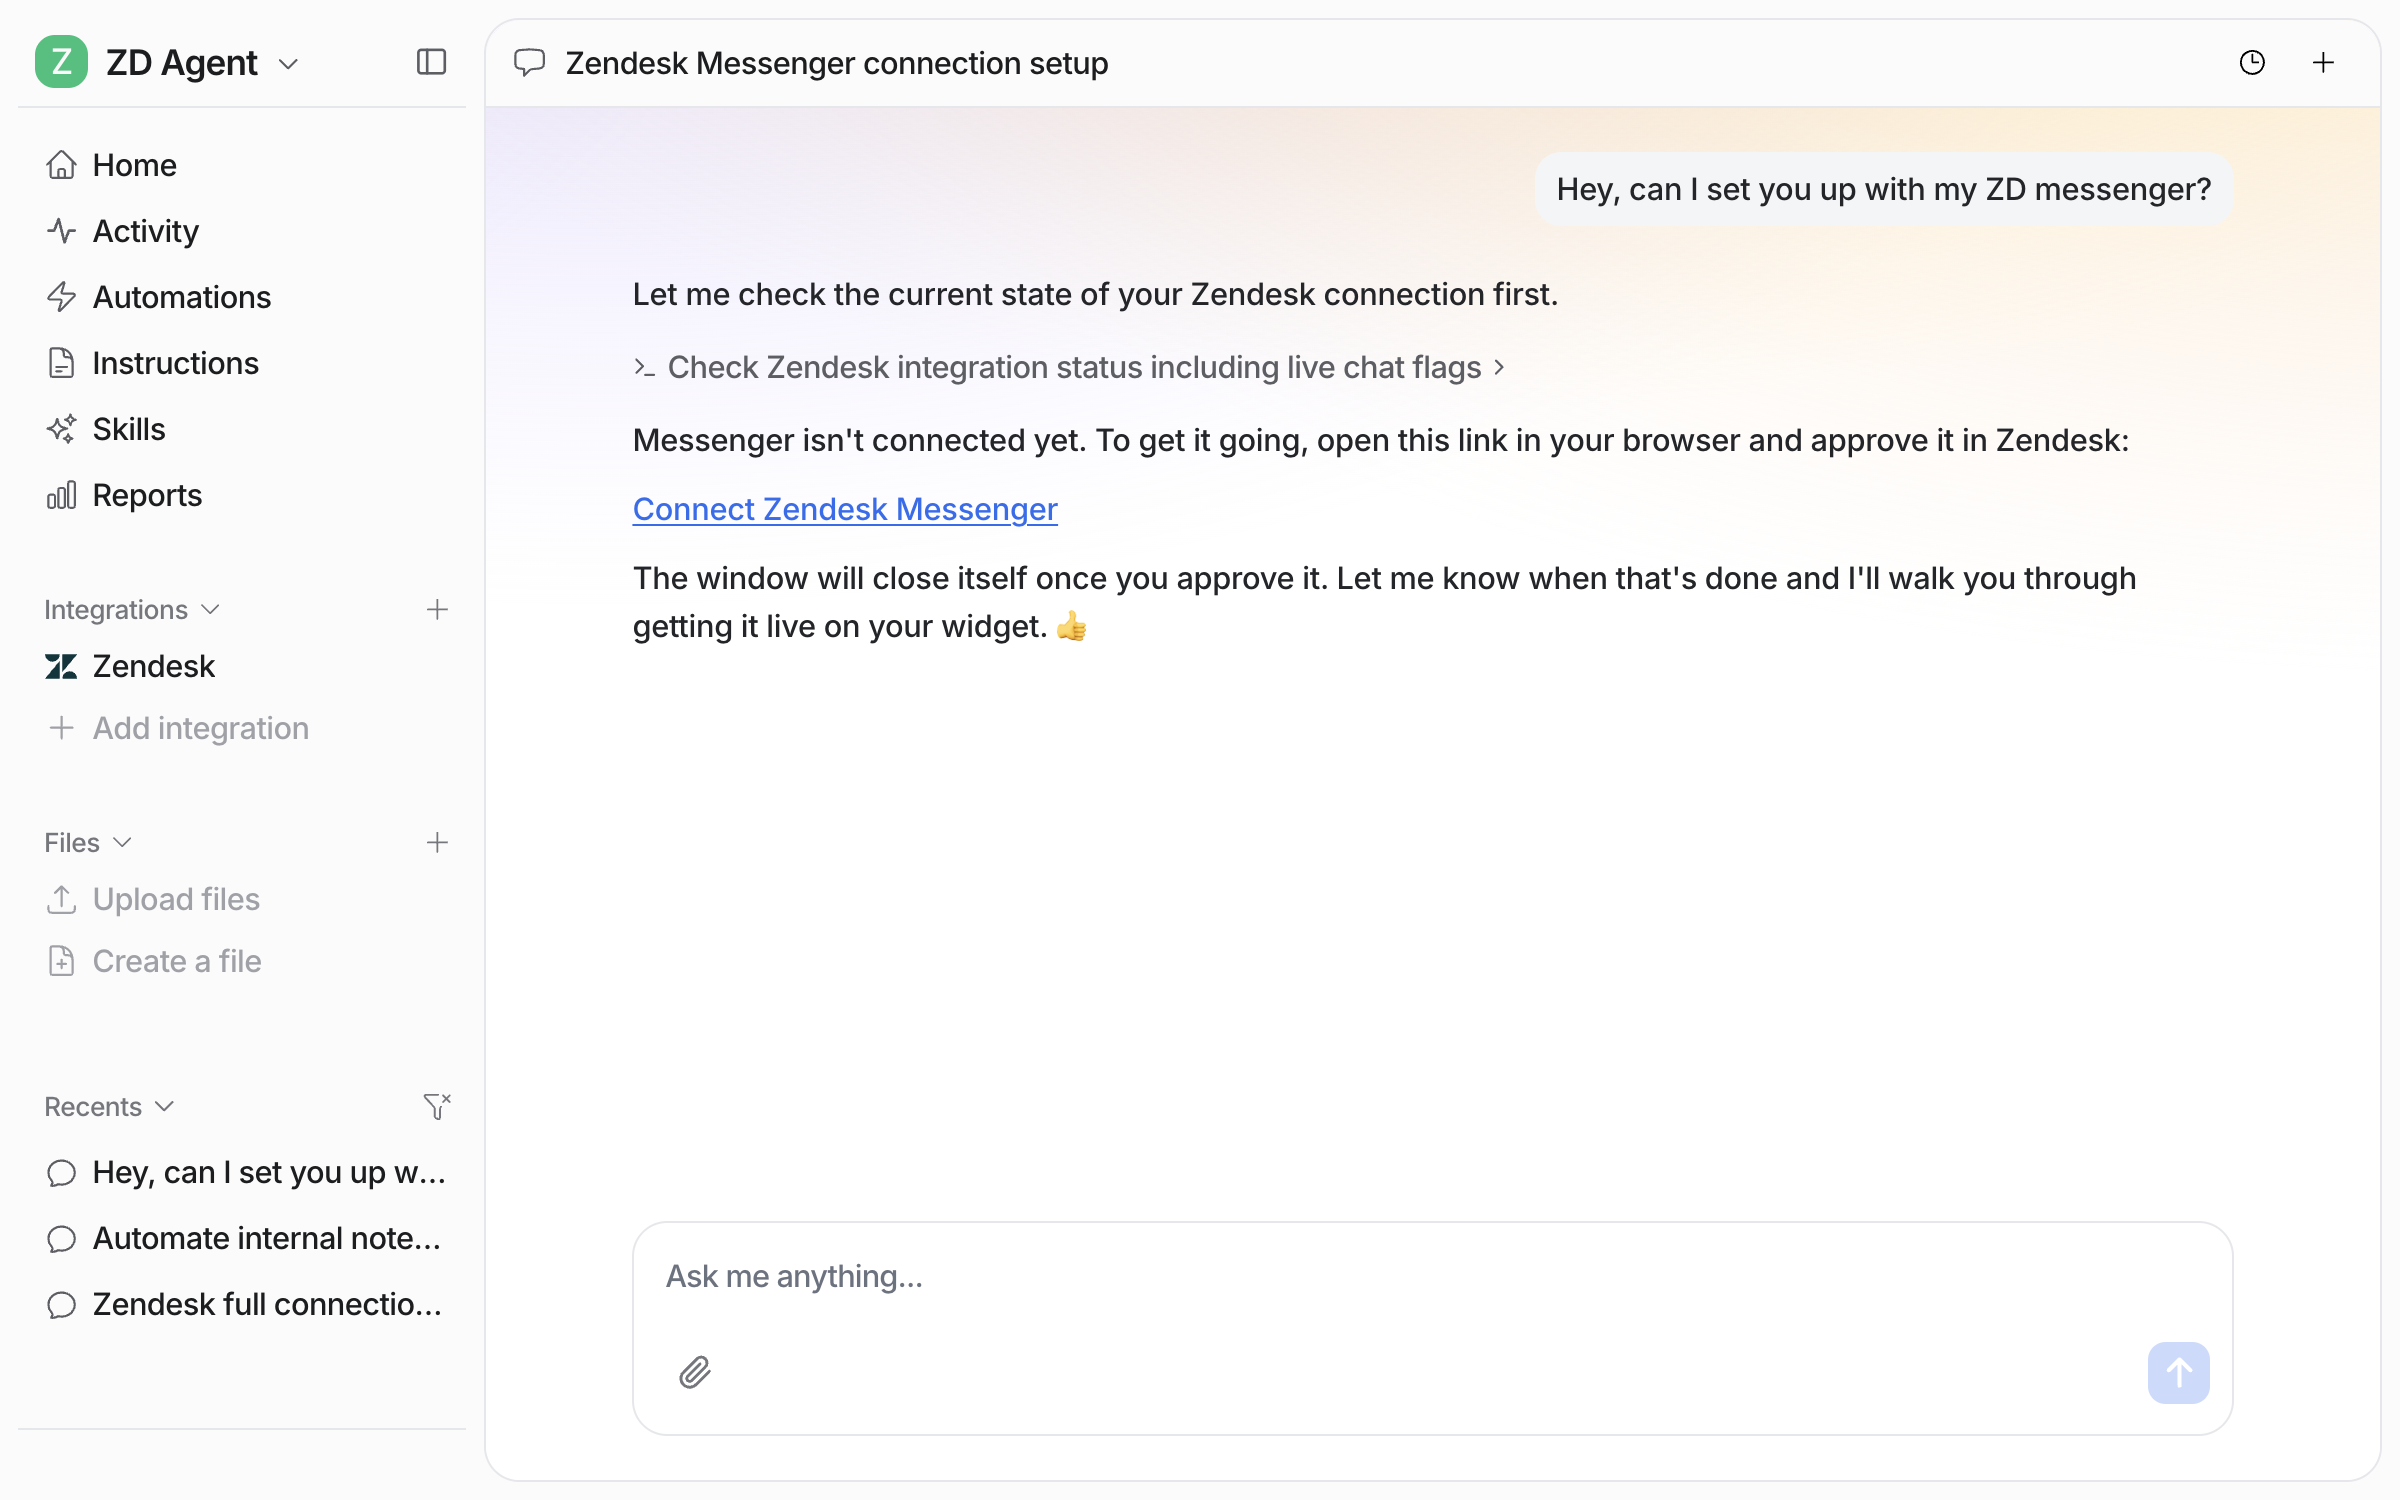
Ask your agent in the dashboard chat to set up Zendesk Messenger. It sends you the authorization link, and you approve eesel AI for Zendesk Conversations in your browser.
Or click through it: open Integrations > Zendesk in the left sidebar, find the Live chat row (that is Zendesk Messenger), and click Connect Zendesk Messaging Widget.

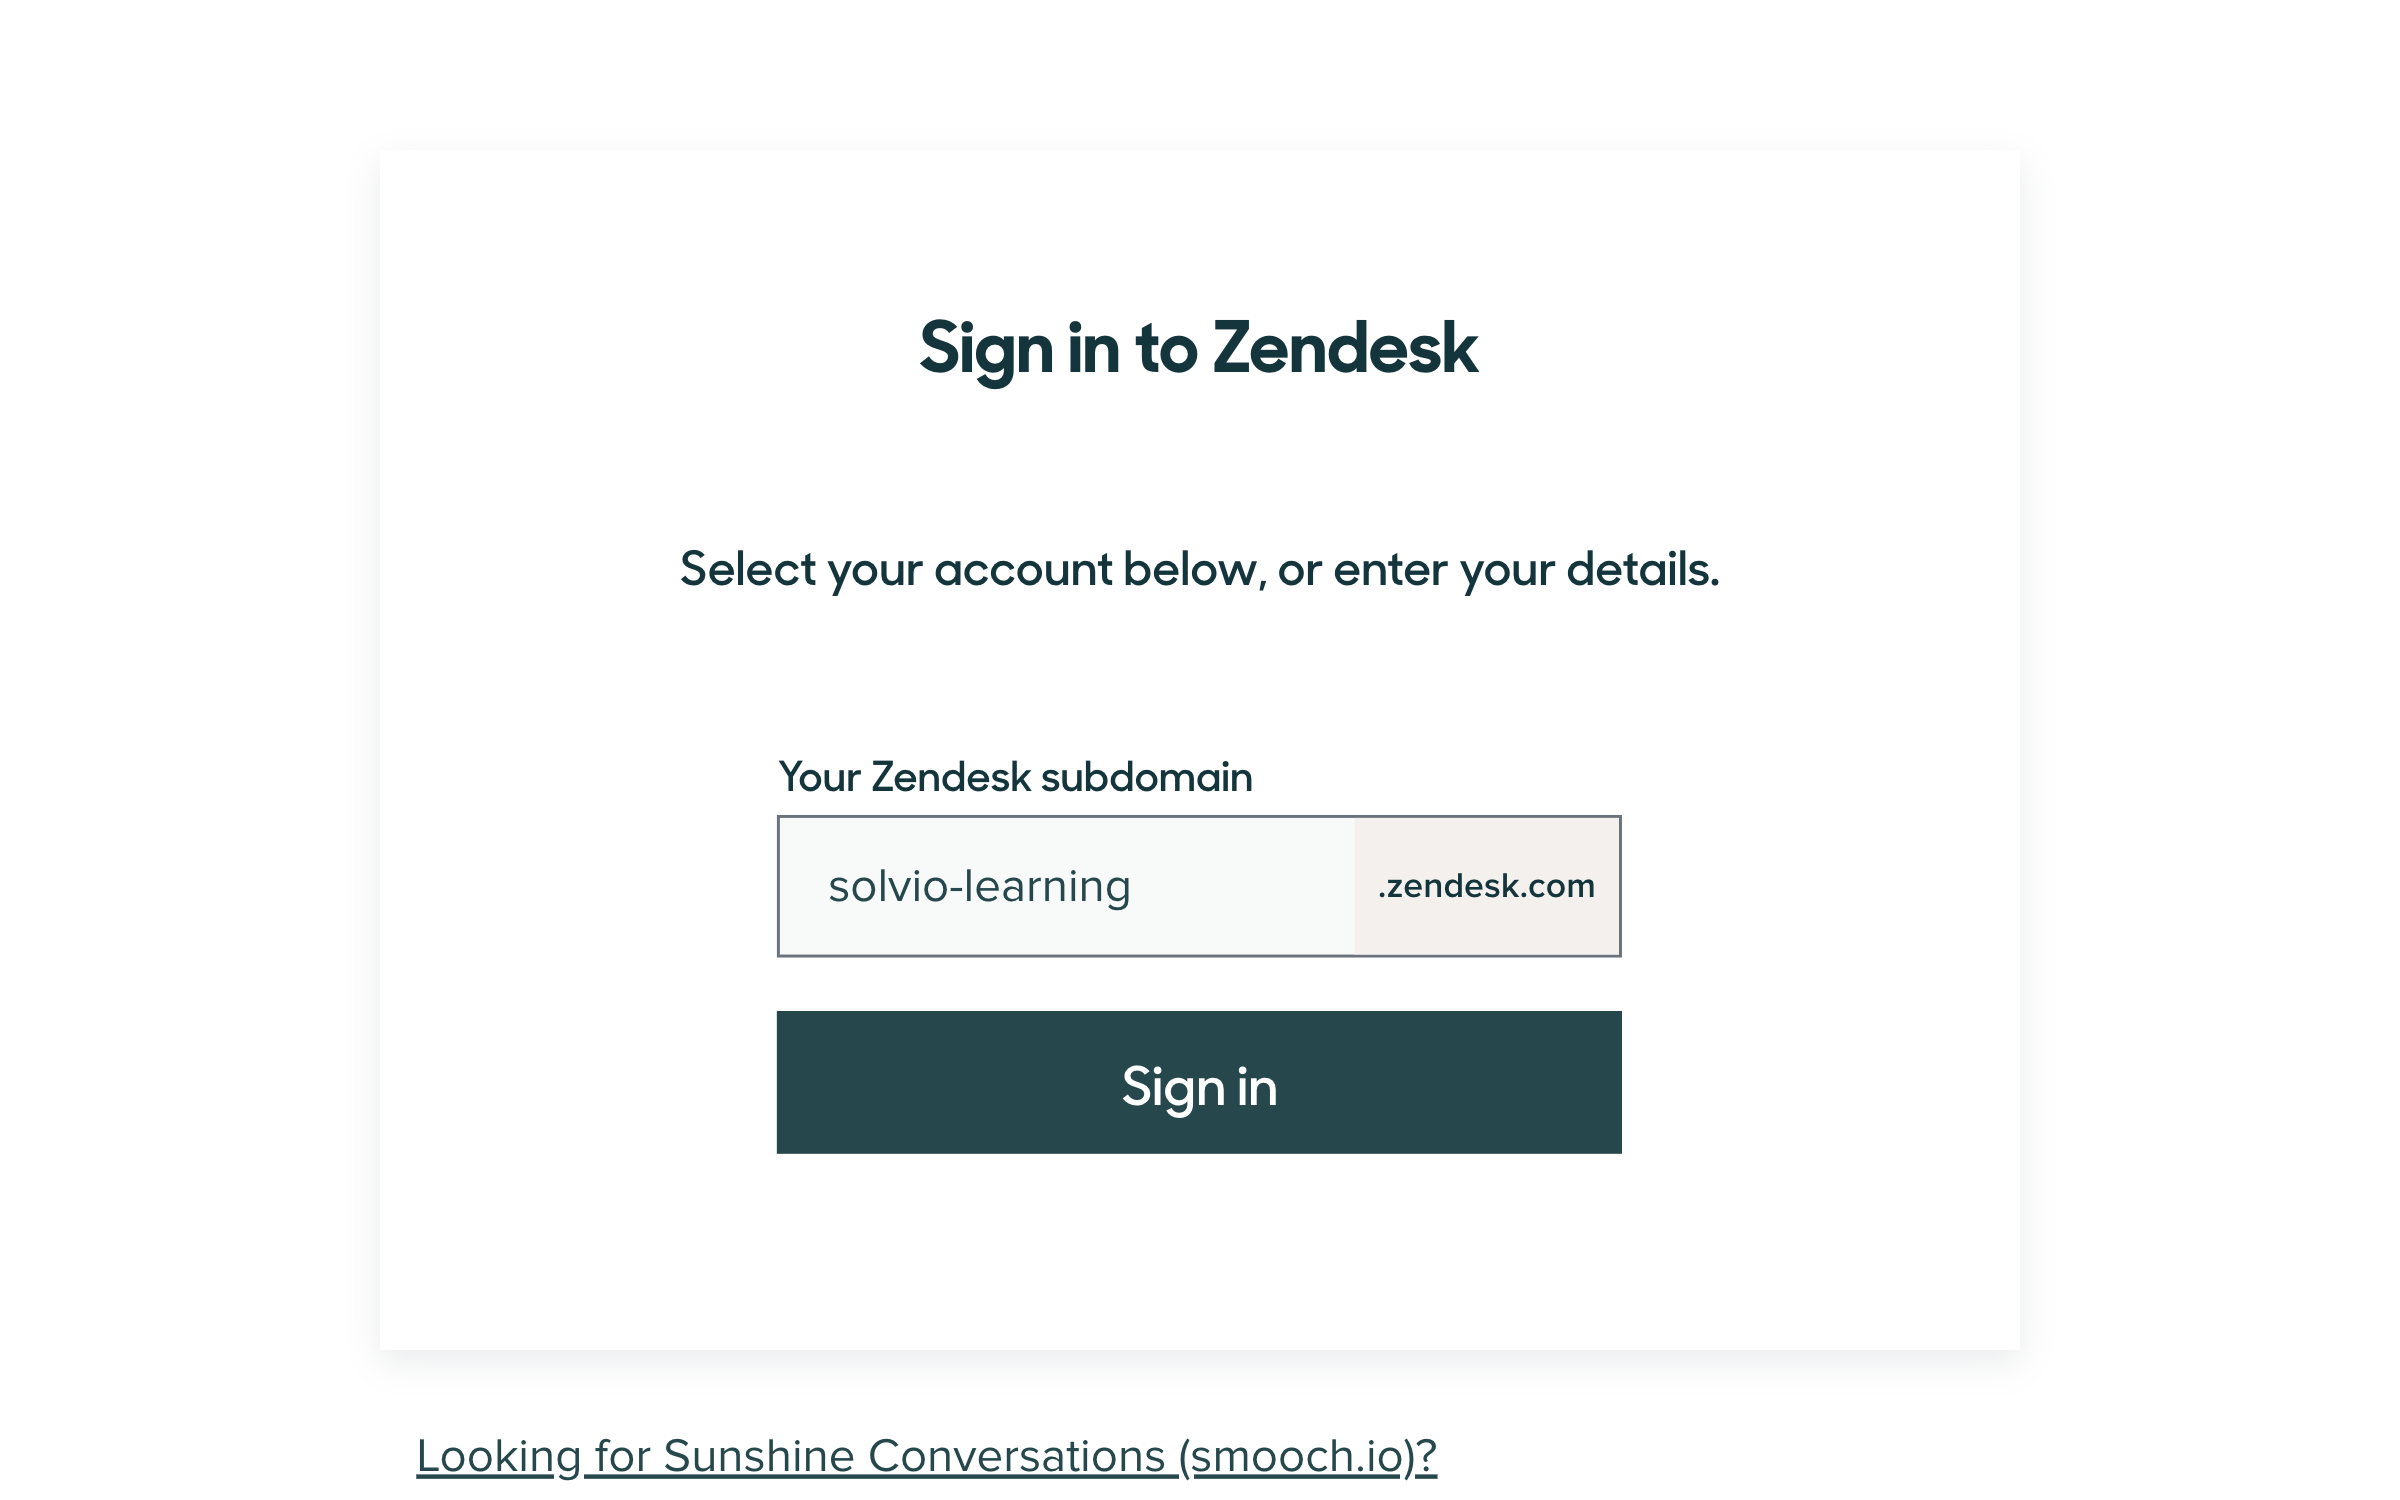
Open the link and give your Zendesk subdomain.

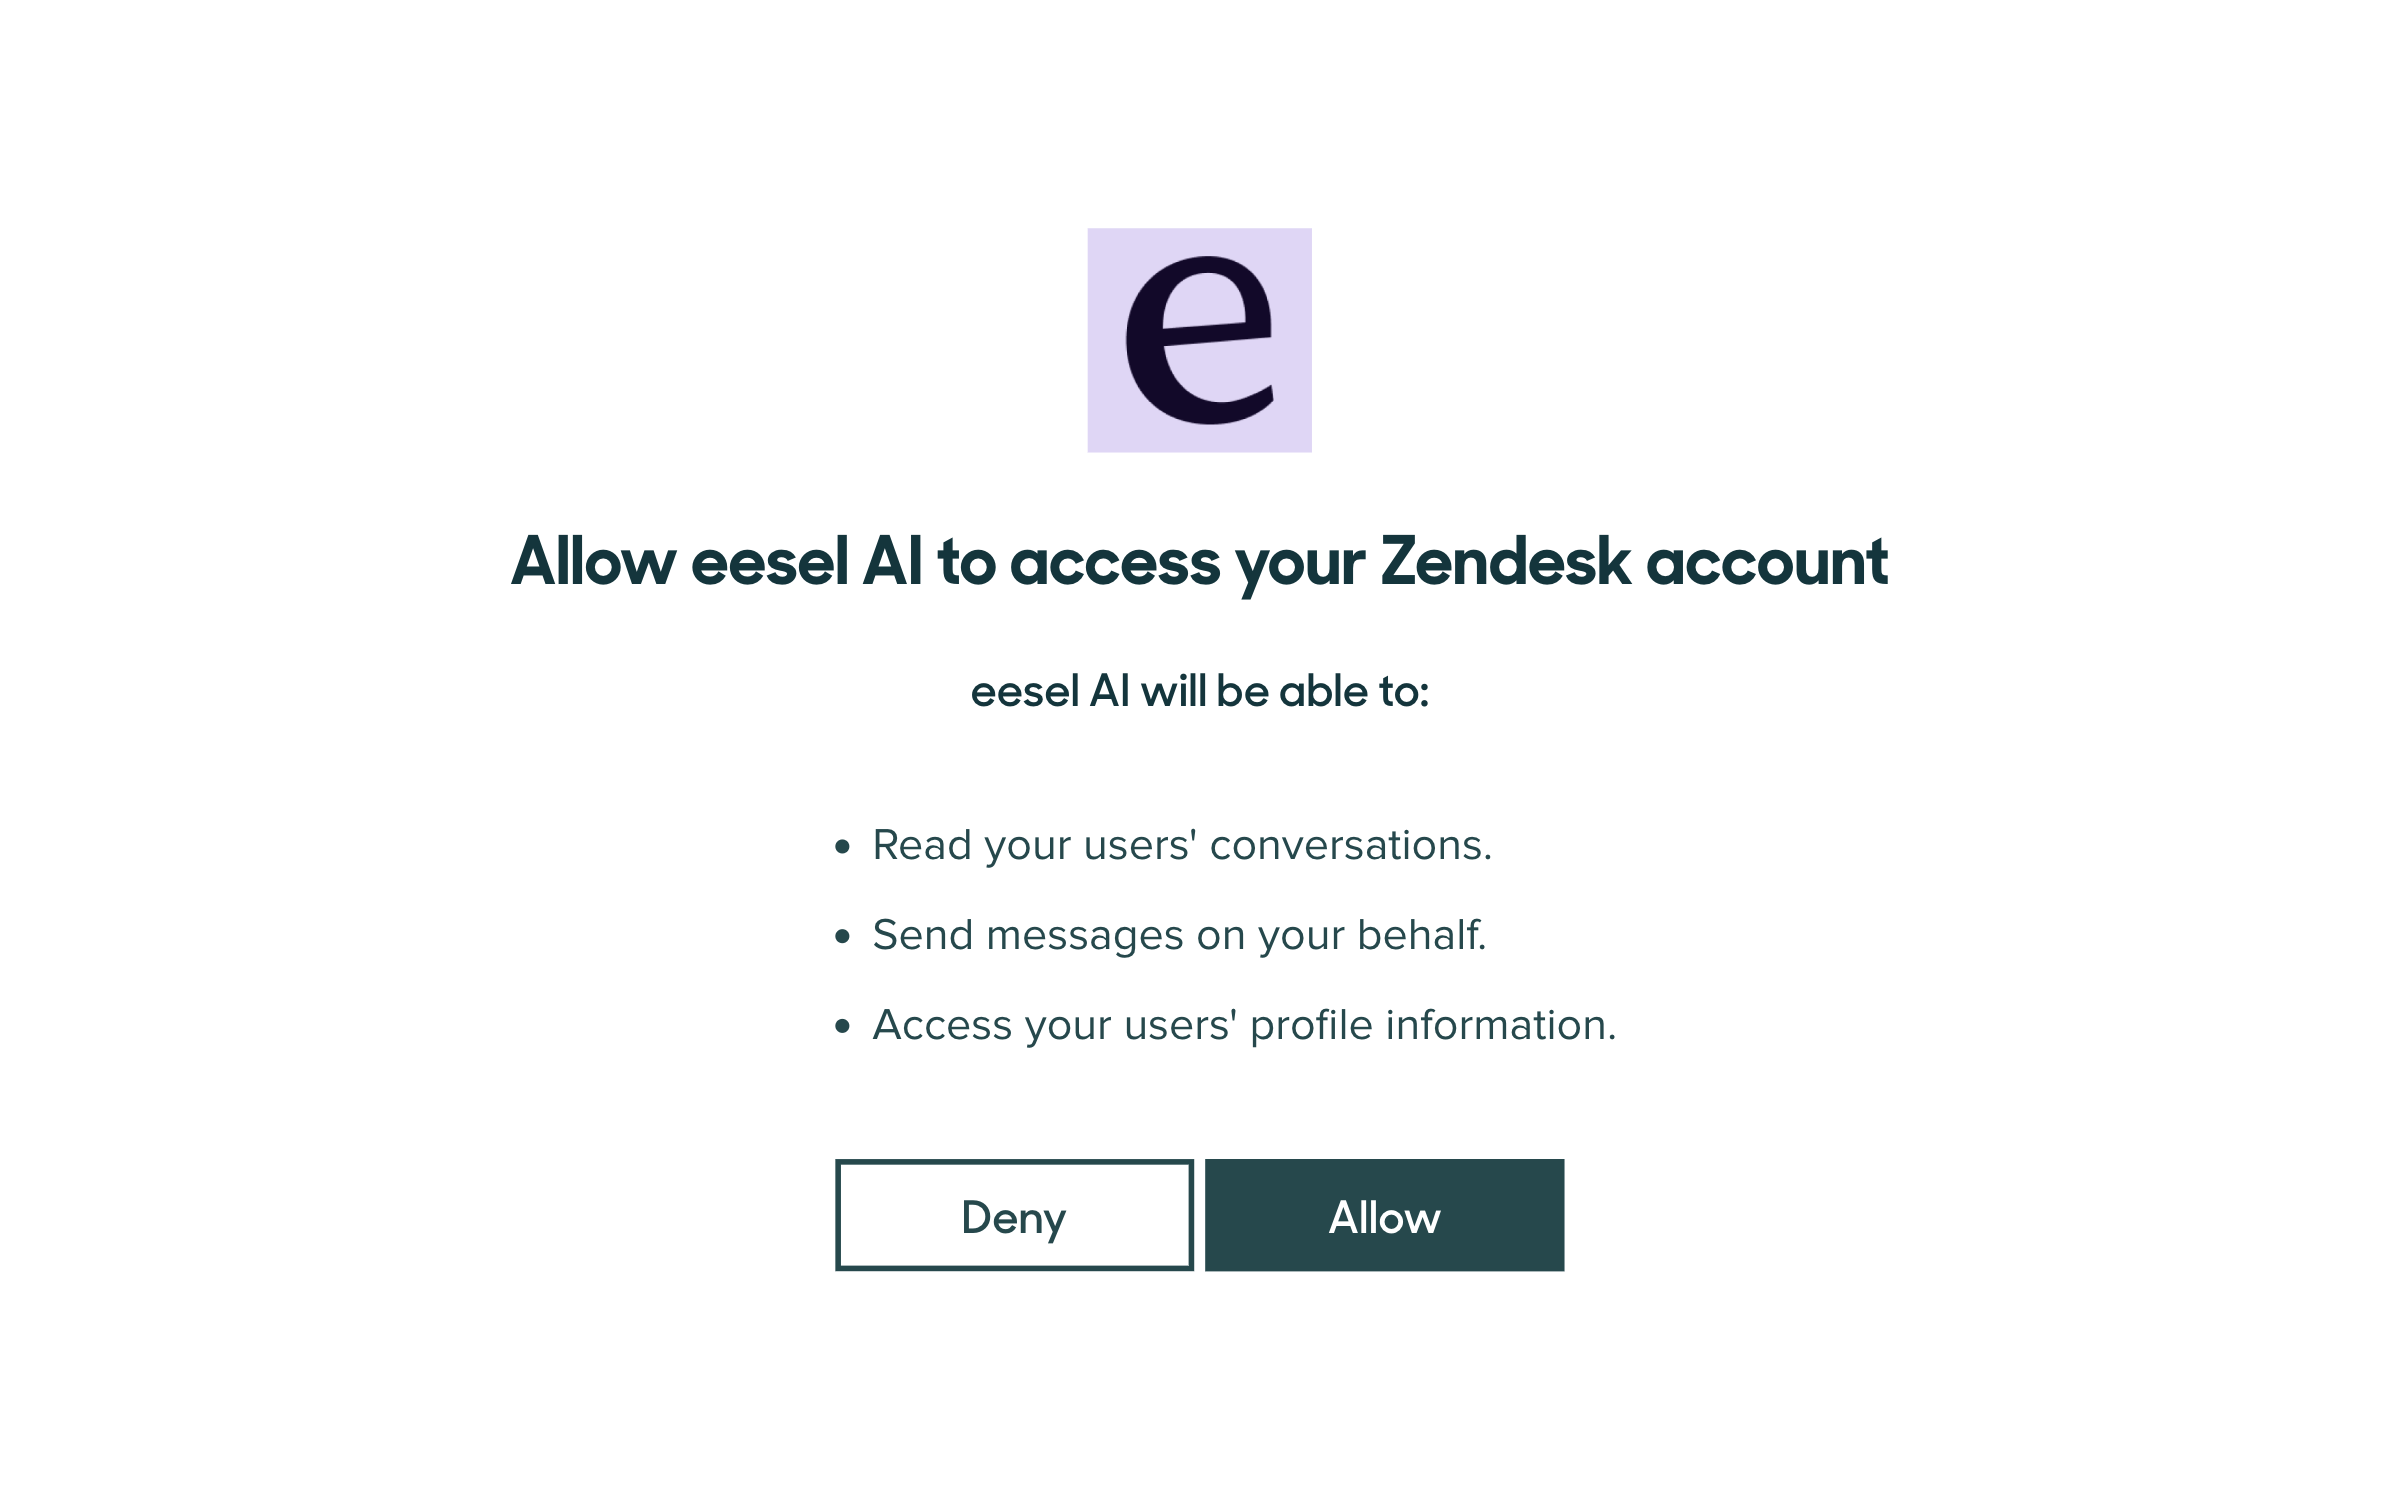
Zendesk then asks you to allow eesel AI. It names what eesel can do: read your users' conversations, send messages on your behalf, and see profile information.

This approval is the one step a person has to do in the browser. If an AI agent is doing the setup for you, it hands you the link and waits.
Check it worked. The Live chat row under Integrations > Zendesk now shows settings instead of the Connect button. From a terminal, eesel status lists Zendesk as connected.
Set the bot name, greeting and instructions
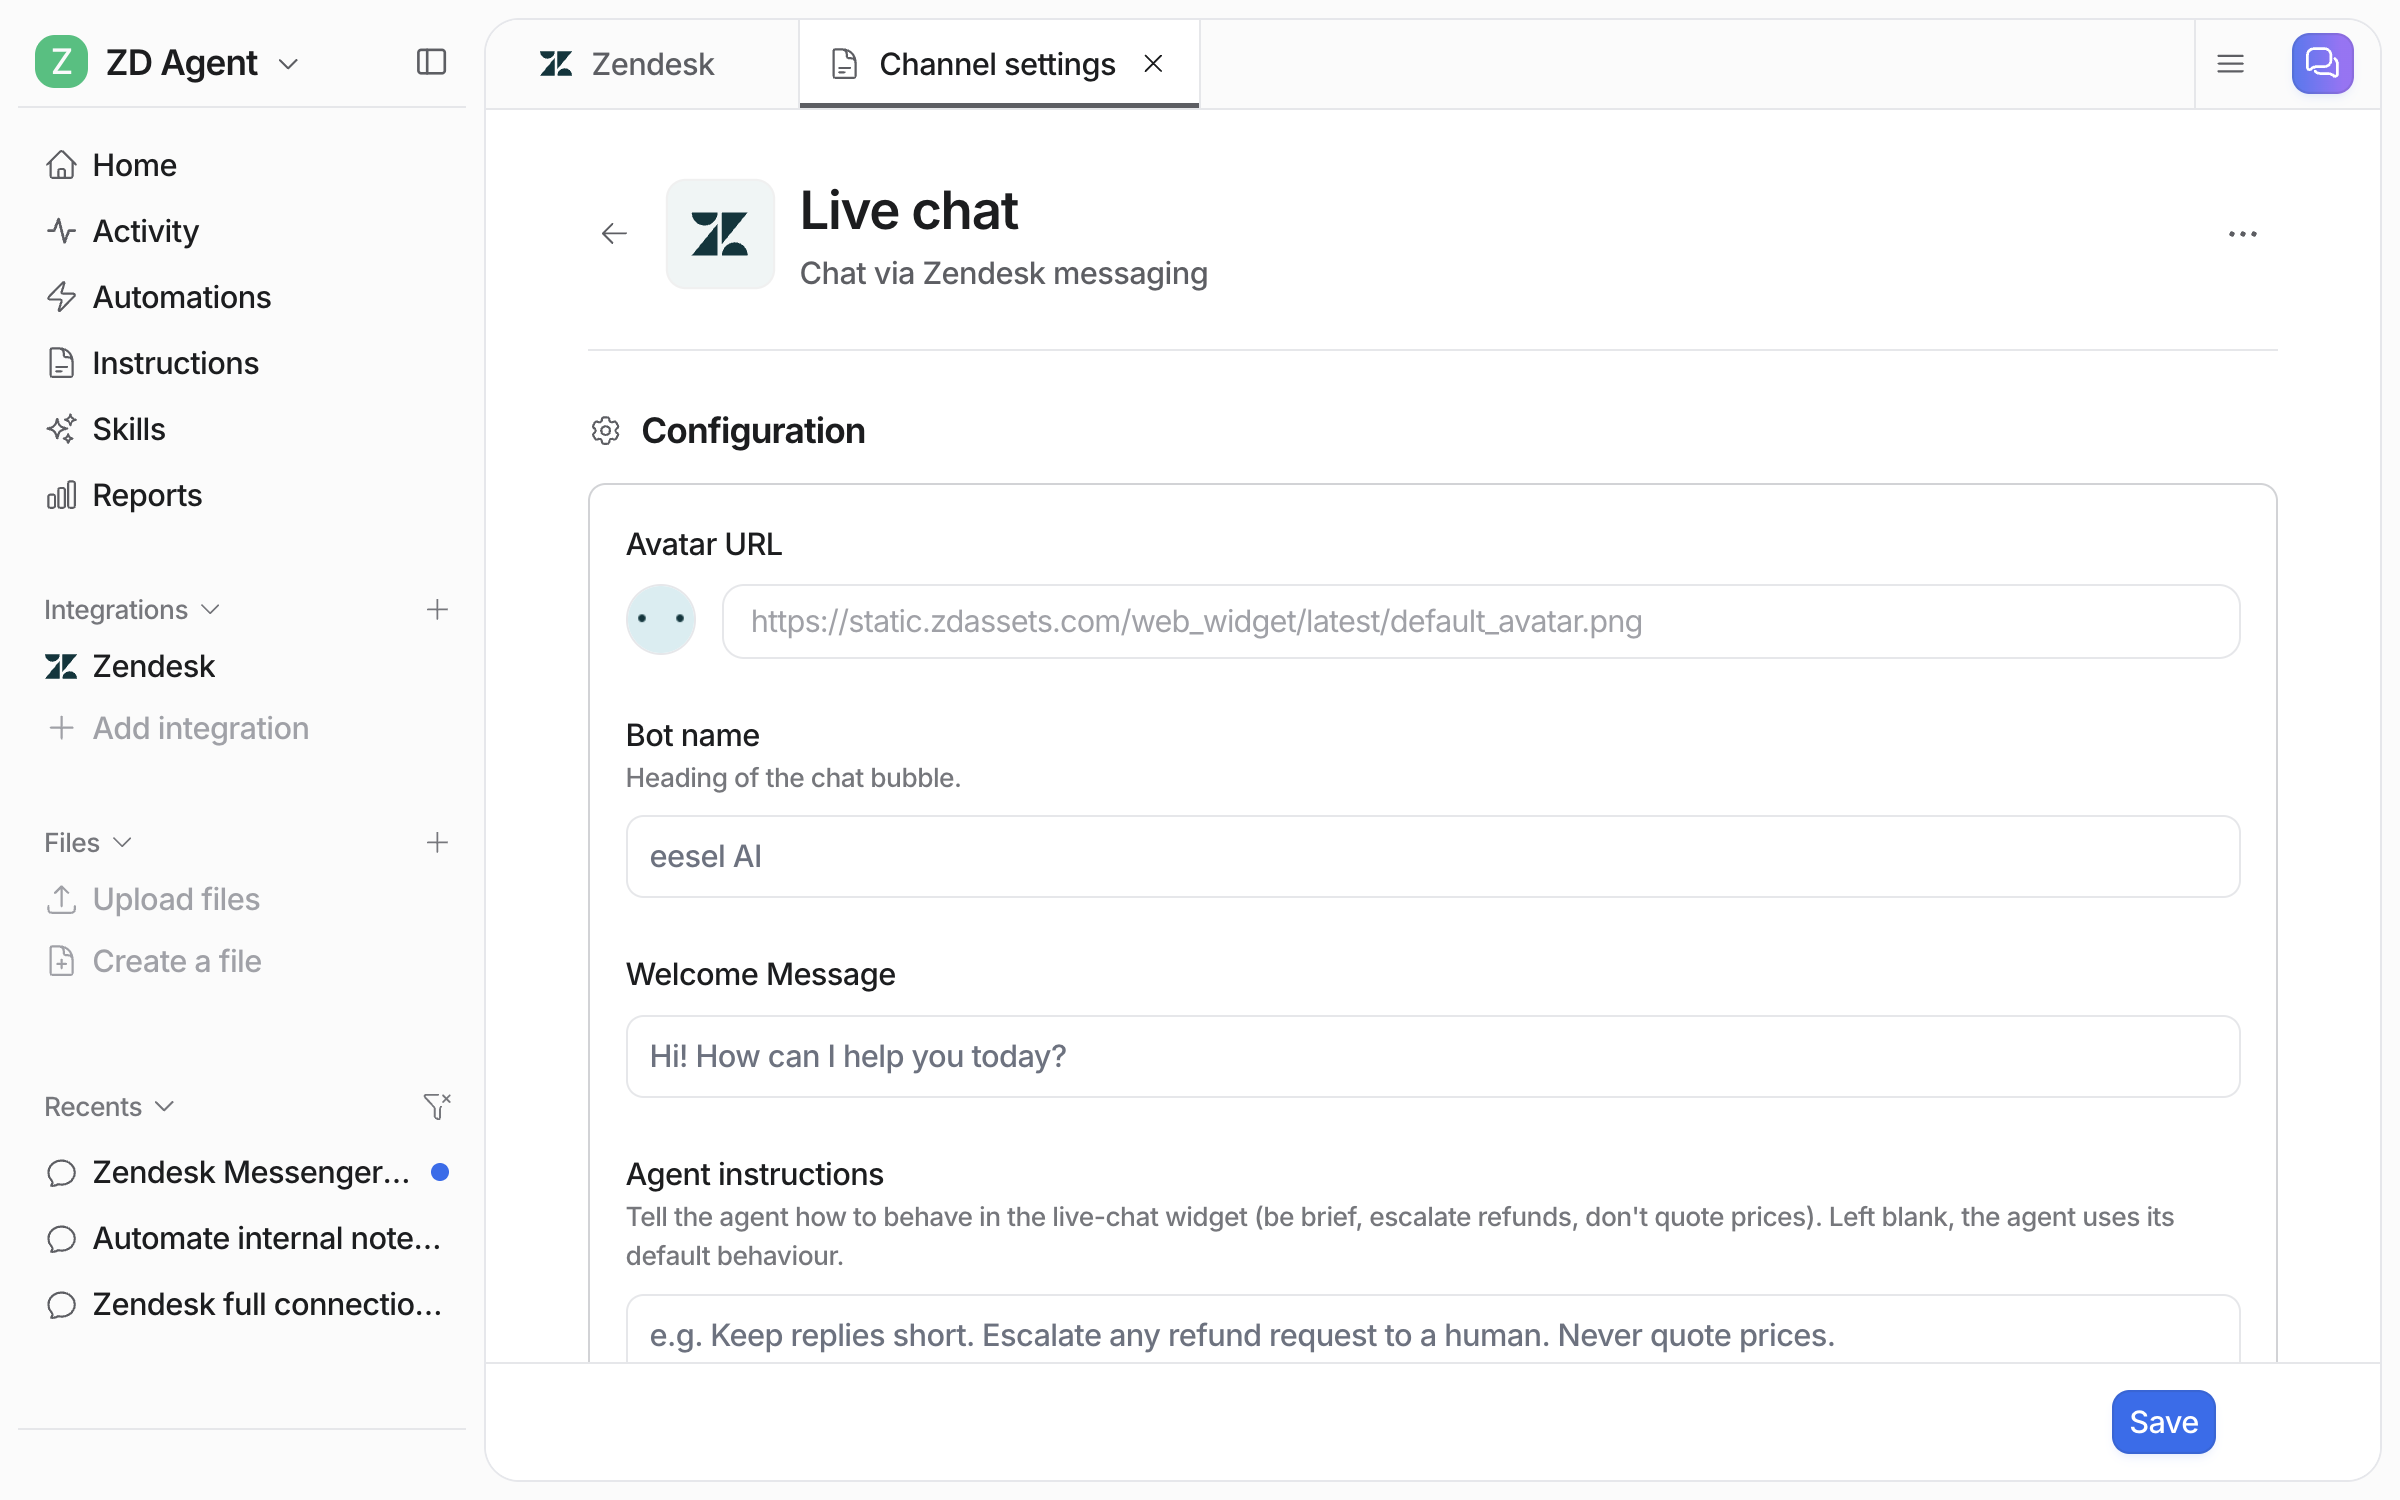
Once connected, open the Live chat row under Integrations > Zendesk again. It now shows settings. Set the bot name, avatar and welcome message. The same settings list your Zendesk messaging channels. Switch on each channel the agent should answer. You can also tell the agent how to behave in the widget: keep replies short, escalate refunds, never quote prices. Left blank, it uses its default behaviour. A clear greeting like "Hi! I'm Acme's AI assistant" tells customers they are talking to an AI.

Then check the automation is on. Open the agent's Automations page and make sure the Live chat row is switched on with Chat reply enabled.
Turn it on in Zendesk
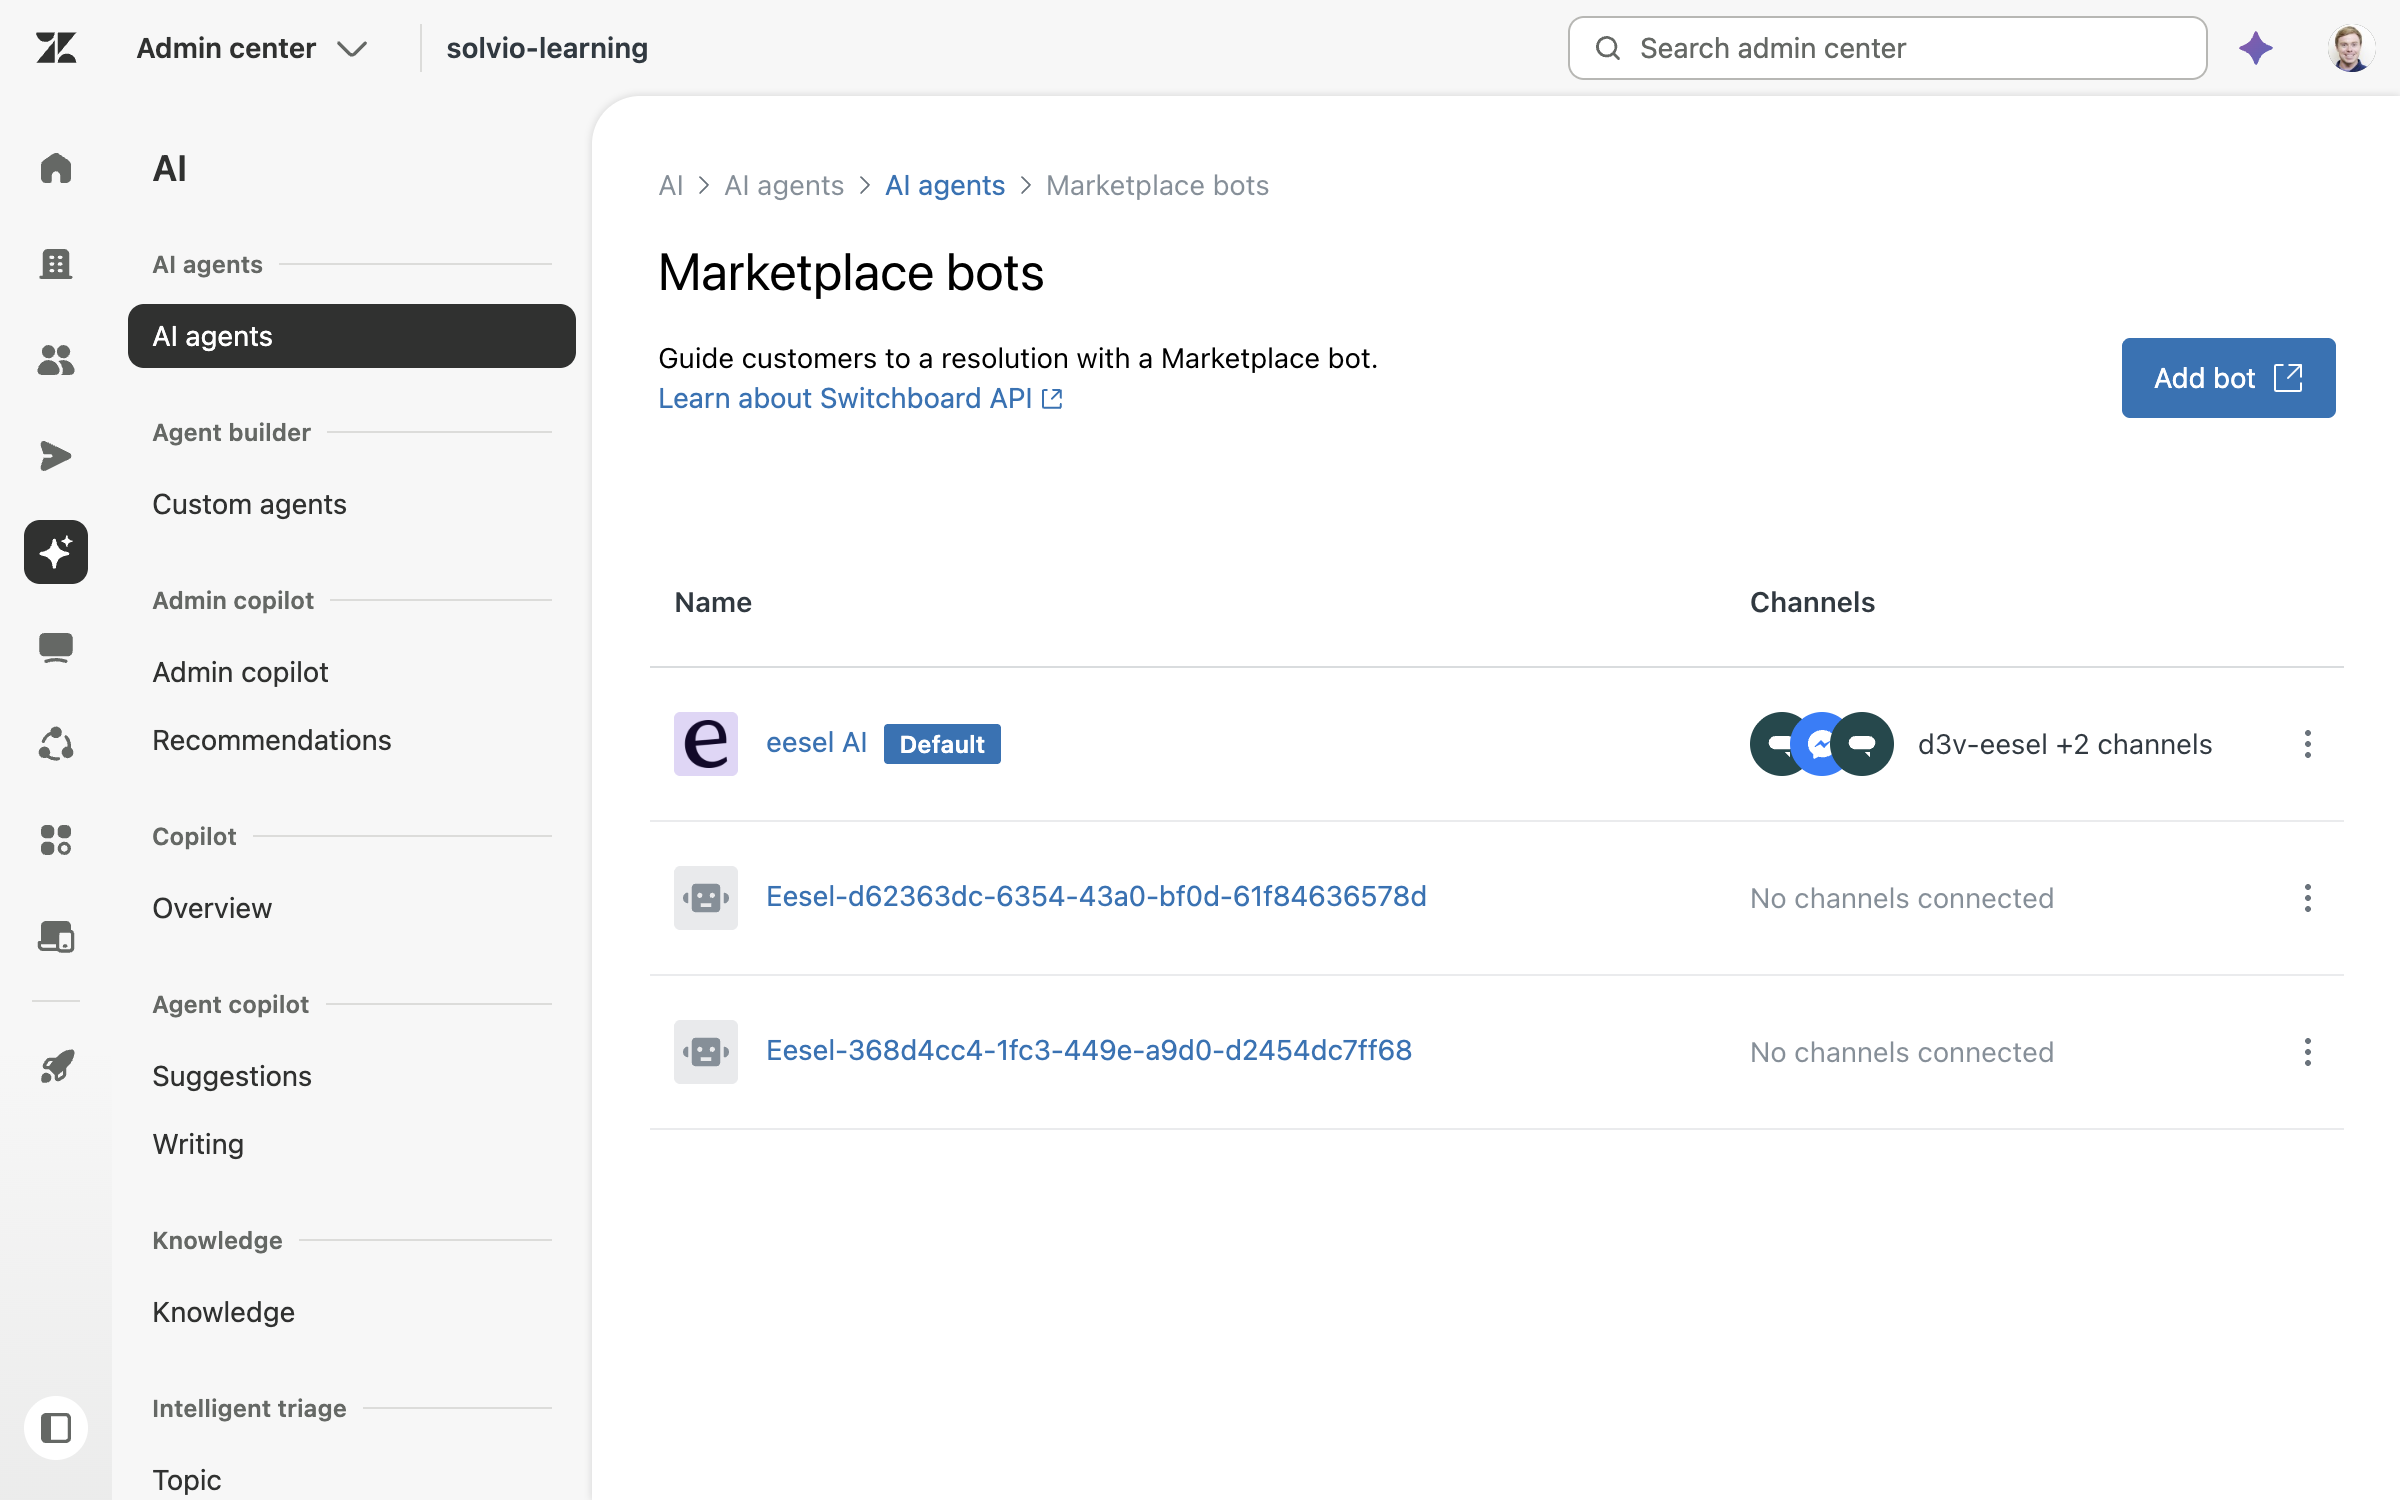
In the Zendesk Admin Center, go to AI > AI agents > Manage Marketplace bots. Click eesel AI, tick every channel it should answer, and press Save. This replaces whatever answered those channels before, such as Zendesk's own bot. To check it worked, open Channels > Messaging. The channel should show eesel AI as its response type.

Actions
Chat reply
Sends a message in the live chat conversation
Hand off live chat to a human agent
Transfers the chat to a human by creating a Zendesk ticket, fields pre-filled, and a tag on the ticket that points back to the chat it came from
If the customer keeps chatting after a handover, the agent can hand the same conversation over again. Auto-Handover can also create the ticket automatically when a chat goes idle for a wait you set, from 5 to 60 minutes. You switch it on in the Live chat settings under Integrations > Zendesk.
Troubleshooting
FAQ
Related
Zendesk for tickets, sources and the rest of the integration
Automations and Schedules to turn the Live chat trigger on
Instructions and Memory to tell it when to hand off
Last updated